¶ Working with GitHub locally on your PC
This solution for working on GitHub is considerably more complex than the previous option explained in this manual, working directly from the GitHub website. For this reason, it is only recommended for users who have some knowledge of Git and GitHub. It is a much more flexible and powerful option that allows us to edit Urantiapedia in faster and more far-reaching ways. In addition, it allows us to run tools, called Urantiapedia Tools, that perform automated tasks very quickly.
This should be the most recommended option for Administrators or Editors-in-Chief users, while the option of working directly from the GitHub website is recommended for Assistant Editors users.
The first step to working locally on GitHub is to perform several software installations that we will explain. Then we will give some configuration tips.
It is assumed that before following these steps we have already created a GitHub account and have made the necessary copies (forks) of the Urantiapedia projects to our account, as detailed in First steps on GitHub.
¶ Install Git on your PC
- Navigate to https://git-scm.com/.
- Download the installer for your operating system. You can find a complete tutorial on how to install it on different OS here: Installing Git. On Windows, use the installer and leave the default options.
- Check that Git is installed correctly by running this in a terminal:
git --version. If it returns the version number then Git is fine. - Run the following commands in a terminal (Git installs a terminal called Git CMD that you can use) to set up your identity in Git, with your name and email. This is necessary for Git to set you up as a code contributor.
git config --global user.name "John Doe"
git config --global user.email johndoe@example.com
¶ Install Node.js on your PC
Node.js is a requirement to run the Urantiapedia Tools. If you are not going to run them ever, you can skip this step, although it is recommended.
- Navigate to https://nodejs.org/.
- Download Node.js. Use the current LTS version available.
- Install with default options.
- Check that Node.js is installed correctly. Open a terminal and run
node -v. If the version number appears then Node.js is installed correctly.
¶ Install VS Code and GitLens
The use of Visual Studio Code is highly recommended.
- Navigate to https://code.visualstudio.com/.
- Download and install it. During installation it is recommended to check the option “Add ‘Open with Code’ action to the context menu of directories” if you are a Windows user.
- Open it. The first time you open it you can set some options. Skip them.
- In VS Code click on the Extensions button on the left sidebar. It is highly recommended to install an extension called “GitLens”. It is usually on the list of most popular extensions. Find it and click on the install button.
- You will now have a new GitLens button in the left button bar of VS Code. Click on it and click on the Welcome (Quick setup) button. The Welcome page will open. It is recommended to select Source control layout as the default view. This will merge GitLens with the default Source control panel in VS Code.
¶ Clone Urantiapedia projects
- Open the GitHub website and navigate to your account.
- Open your copies of the Urantiapedia projects (forks) that you should have created.
- On the main page of each copy click on the green menu called Code and click there to copy the project URL, something like
https://github.com/<username>/urantiapedia.gitandhttps://github.com/<username>/urantiapedia-backup.git.
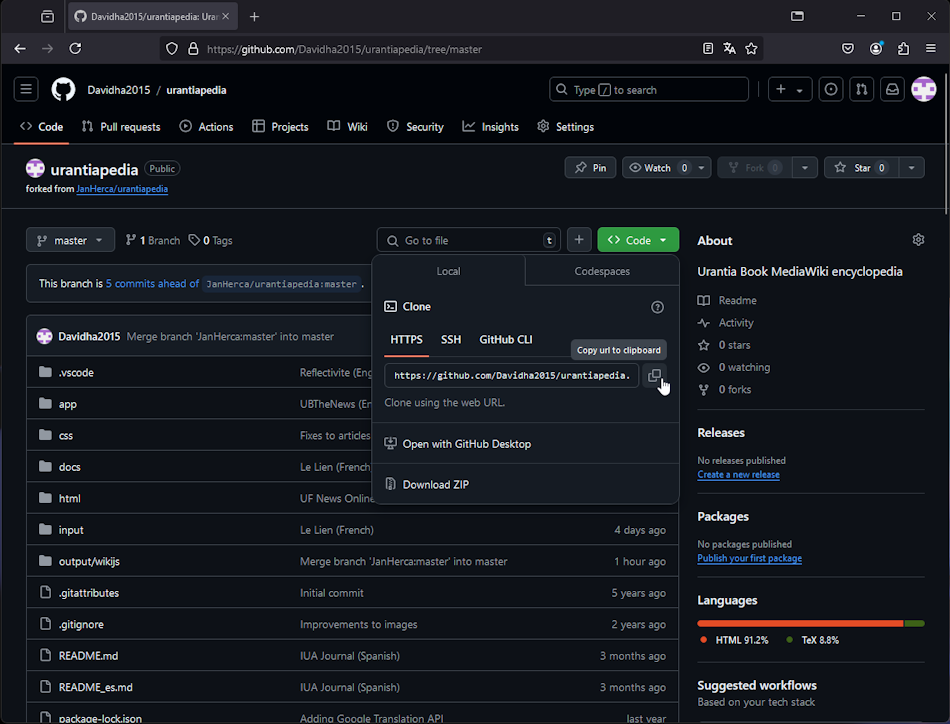
- Open VS Code, open the Source control panel and click on Clone repository.
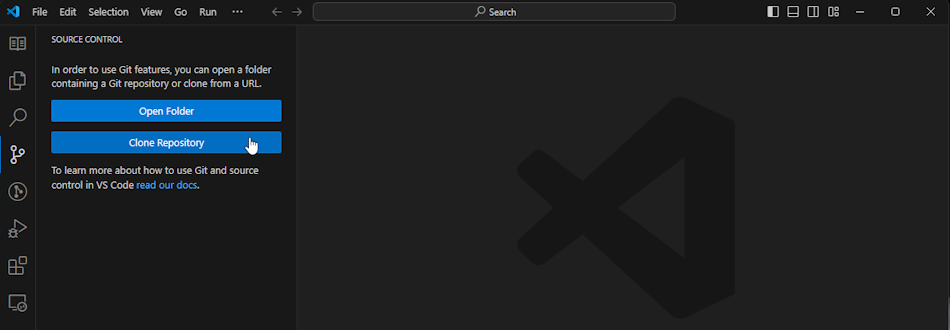
- In the text box that appears, type or paste the path you copied earlier.
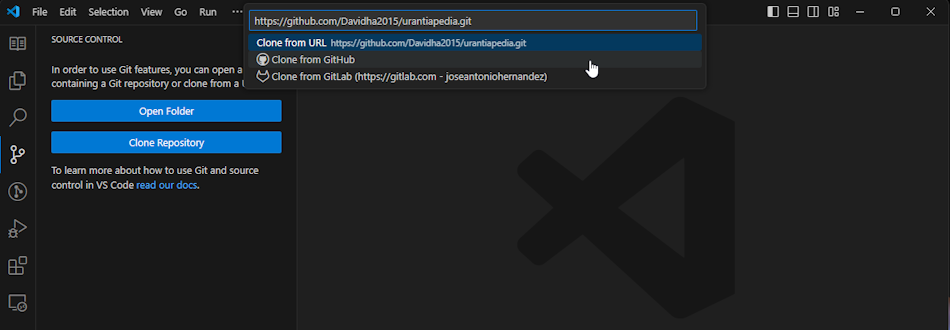
- Select Clone from GitHub.
- Click Allow in the GitHub extension to sign in.
- A web page appears asking for VS Code authorization to access GitHub. Click Continue.
- Click on Authorize github.
- Now you are redirected to a new web page where a message opens. Click on Open VS Code.
- Now click Open to allow the use of the provided path. If something goes wrong, repeat from point 4.
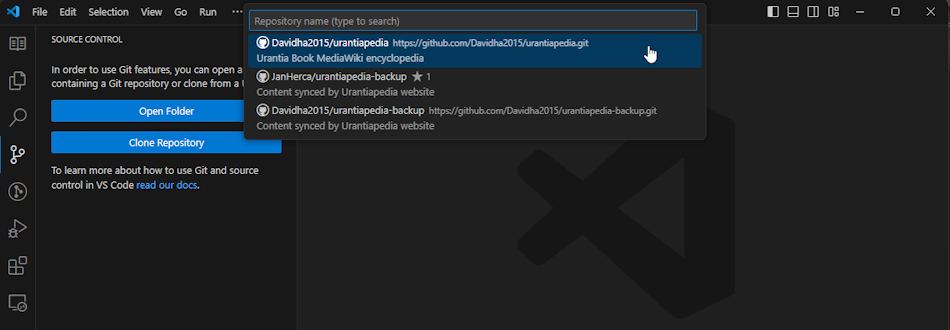
- When the name of your Urantiapedia project repository is displayed in the command center, select it. A dialog box will appear asking for a folder. Select any folder or create one for the project.
- Wait a few minutes for VS Code to clone the repository. Finally click Open repo. Also click Yes, I trust the authors.
- The project will open successfully.
- Perform these same steps for each project, for urantiapedia and for urantiapedia-backup.
¶ Setting up Urantiapedia Tools
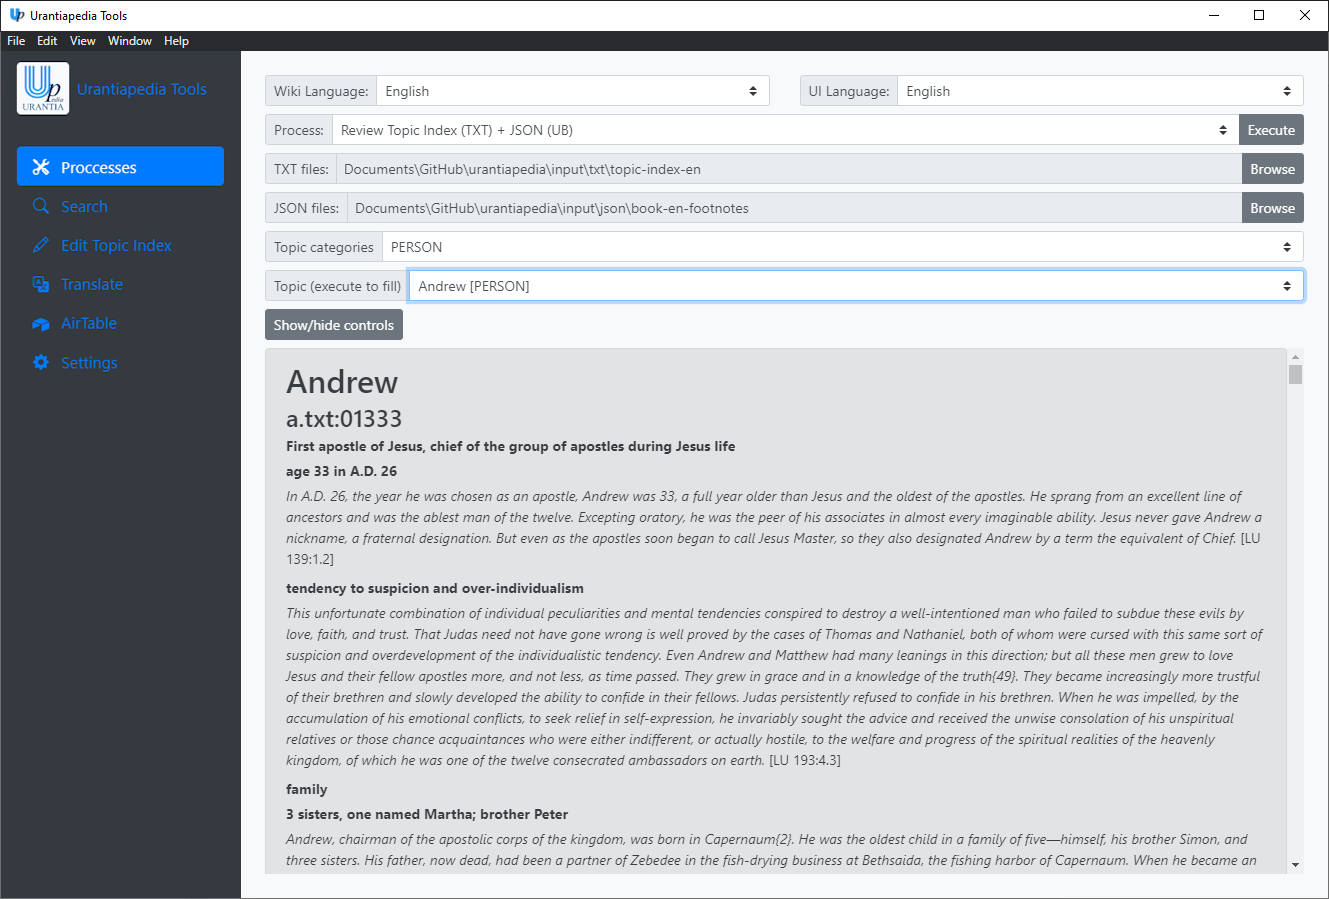
Urantiapedia Tools is a desktop application developed in JavaScript with Electron. It is used to run very fast processes that modify hundreds of pages at a time. If you are not going to need to use it, you can skip this step. To install and run it, follow these steps:
- Open the urantiapedia project in VS Code. You can do this in two ways:
- Open VS Code. Select File > Open folder. Select the root folder of the project, the one that contains the
package.jsonfile. - Optionally, on Windows you can open the project via the context menu of the root folder and select Open with Code.
- Open a terminal using Terminal > New Terminal. Make sure the terminal is open in the root folder of the project.
- To install the Urantiapedia Tools dependencies run:
npm install. Wait until all are installed.

- The project is set up with a default run configuration. Press F5 to run the application or run
npm run startin the terminal. - The application opens. By default, a Dev Tools window opens for debugging. If you are not developing, you can ignore or close it.
¶ External links
- Urantiapedia Tools - GitHub project
- Urantiapedia-backup - GitHub project
- Urantia Foundation
- Blue Fields
- Wiki.js